Every year as seed catalogs catalogs arrive I fantasize about starting seeds indoors. Maybe I'll turn the unfinished room in the basement where I make worm compost into an indoor potting shed, complete with grow lights and a multi-tiered plant stand. I'll add some funky furniture, cool music, and munch microgreens all winter long.
Photo Credit
I can fit this into my basement. No problem!
But the problems with my plan begin as soon as my alarm goes off at 5:45 am. Zombies move faster in the morning than I do. I do not hop, pop, or jump out of bed but slowly ascend into wakefulness with the focused intensity of a giant sloth. I stumble towards the kitchen in a daze with only one goal in mind: coffee and lots of it. Despite my fantasy of having a mini-greenhouse in the basement the probability of remembering to turn on the grow lights early in the morning is doubtful, at best. Since relocating the coffee pot to the basement seems ludicrous, I'd have to bring the greenhouse to the coffee pot.

A warm corner next to the coffee pot and toaster seemed like a perfect spot for a tabletop grow light system like this one from Gardeners Supply. I could wade through my morning vat of coffee while also checking on my seeds. But of course, the available space is only 22 inches high while the system above is almost 26 inches high. Detemined to start my seeds early, it was time to get creative.
It looks weird but it works!
Who needs a pricey tabletop greenhouse when you have bricks, clamp lights, a few bottles of wine, an asparagus steamer and a paint stirrer?
I bought two grow lights and despite having read that I could use them with a regular lamp, was seriously worried I'd come home to a smoldering pile of ash if I employed a lamp built for a 60 watt bulb to light a 150 watt bulb.
I bought two clamp lights designed for the Agrosun lights and clamped one on a bottle of wine balanced on a soup can in an asparagus steamer full of sand. I raised the height of the steamer with bricks and catalogs/magazines.
The second light was attached to a wine bottle partially buried in a solid ceramic pot full of sand. I buried a brick and a paint stirrer to help stabilize the wine bottle and tied together two newspaper delivery bags to keep the bottle from leaning forward too much. I tucked the ends of the bags under the pot. I'm planning on putting a dwarf water plant in the pot this spring since it doesn't have a drainage hole. If the pot doesn't drain, then I'll give it a plant that likes to be wet.
Four seed trays are kept warm on an old towel covering a marble pastry board and a huge wooden carving board. I'll turn the lights on when I get up and turn them off when I get home. Easy!
These trays were cheap and came with coco fiber pellets and a capillary mat. They're the perfect size for my little greenhouse.
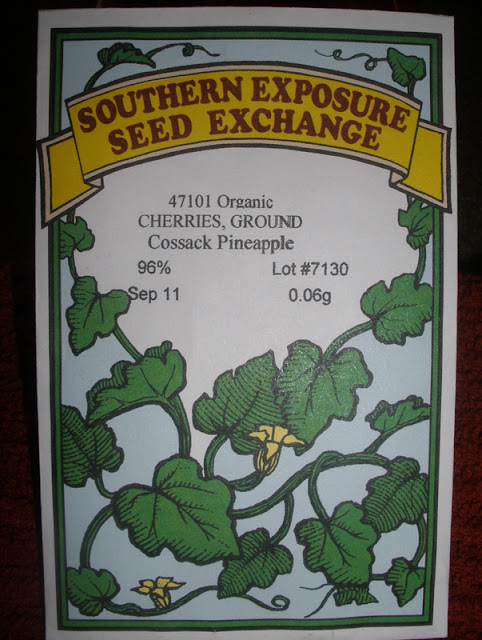
I'm starting ground cherry and salpiglosis seeds.Ground cherries are delicious little fruits that have been described as the love child between a tomato and a pineapple. I learned about them from
Bumble Lush. They look like little tomatillos.
I've never grown salpiglosis before but they're so beautiful I thought I'd give them a try. The name sounds like either a disease or an odd body part. I'm not sure its common name of 'Painted Tongue' is much better.
I soaked both kinds of seeds overnight before sowing them. The salpiglosis seeds are super tiny. I used a piece of dry fettucine to help me plant them so they wouldn't stick to my fingers. They need to be sown on the surface and then kept in the dark.

I used a piece of the original packaging to cover the seeds and then covered both trays with a kitchen towel. Once the seeds germinate, I'll take off the cardboard and the towel.
Two of the trays of seeds were started using the coco fiber pellets that came with the kits while the other two were started using No Damp Off, a product I found at our garden center. I'm curious to see which growing medium works the best. It's 100% Wisconsin spaghum moss.
It was very easy to work with, especially with my Ultra Fabulous Gardening Fettucine.


